APT uses Micro-Vu Equipment for Quality Assurance and Enhanced Customer Value
 Australian Precision Technologies (APT Engineering), based in Berwick in the growth corridor in the south-eastern suburbs of Melbourne, is a leading precision engineering business focused on achieving customer value through quality assurance, productivity and the best use of the latest technology in their business.
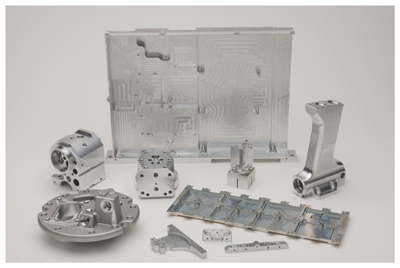
Business director, Ron Weinzierl remarks “Capability = Value at APT we focus on technology and a controlled QA system that delivers a high level of Capability which allows us to provide our customers with significant Value. Our business supplies to the defence, aerospace, medical, automotive, water control, security and consumer products sectors in Australia as well as a number of important export contracts.” The range of precision CNC machined components that APT has produced to date is extensive and over its 19-year history include; Housings, Fuel Rails, Handles, Adaptors, Spindles, Threaded Inserts, Shafts, Spacers, Pins and a huge variety of other such components - low or high volumes.
APT has developed – components for automotive assemblies, transport and railway applications, aerospace solutions, defence industry initiatives and a number of other applications to a variety of Precision Engineering fields. These have been produced through skill in innovation resulting from a sophisticated manufacturing process, which also in the long run has had a revolutionary impact on the Repetitive industry, creating benchmarks that a number of other manufacturers have started to follow. APT Plant and Technology is ranked in the top 10% of operators in Australia.
 APT first became involved with Hi-Tech Metrology back in mid 2005 when discussions took place about the need for an enhanced quality assurance capability at the Berwick facility. This resulted in the eventual purchase and installation of APT’s first piece of CNC dimensional metrology equipment, in this case a Sheffield Discovery II – D12 coordinate measuring machine (CMM). Over the last six-years APT has had a significant improvement to their quality performance and a number of positive customer outcomes through the use of their CMM capabilities combined with the confidence that this type of equipment has given to their whole operation.
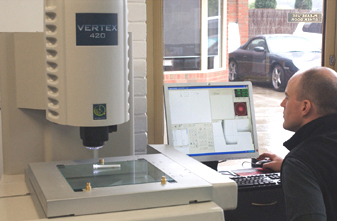
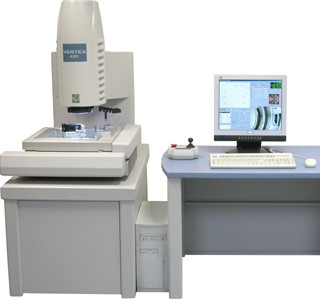
Then in mid 2010 the possibility of a Defence contract emerged and there was a need to measure samples from each batch of parts manufactured for each shift as part of the project requirements. The nature of the parts involved – small, intricate and with some very critical features, made these items the ideal candidate for an automatic vision-system CMM. In late 2010, following extensive work by Hi-Tech Metrology's team of Application Engineers and on the back of being awarded the contract, APT purchased what has now become the state-of-the-art measurement system for almost  all of the precision engineering sector in Australia – the Micro-Vu Vertex vision-based measuring system.
Wind the clock forward 12-months and reviewing the businesses performance over this period again Ron Weinzierl comments…” the Micro-Vu machine has been a tremendous asset for APT and not only have we have been able to win new business for the company based on our capabilities with the equipment, but I believe that we are providing better value to our existing customers with the integration of the Micro-Vu system and it’s programming functionality into our entire range of business processes”.
In the future Weinzierl says that by working with partners such as Hi-Tech Metrology, who have helped us every step along the way on our quality and continuous improvement journey, we will be making new investments in the latest CNC technology for our manufacturing process and will further enhance our capabilities with equipment systems and technologies from Hi-Tech.
