Die and Mould Design or Modification
What the Industry Needs
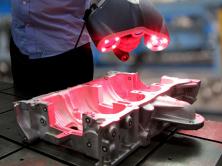
Manufacturers using mould and die production methods such as stamping, casting and plastic injection must deal with physical phenomena like shrinkage and spring back effect, all of which which makes it complicated and time consuming to match the CAD geometry. Complete surface measurement of the parts and its tooling through 3D scanning can actually help in assessing to which extent the phenomena are impacting the part. Results obtained through the 3D scan can provide good insight during the iterative design process of the tooling, and accurately monitoring the die/mould geometry and their corresponding produced parts will help in reducing the number of design iterations and producing parts that will perfectly match the CAD reference. Besides, 3D scanning is a valid solution to reverse engineer the original tool.
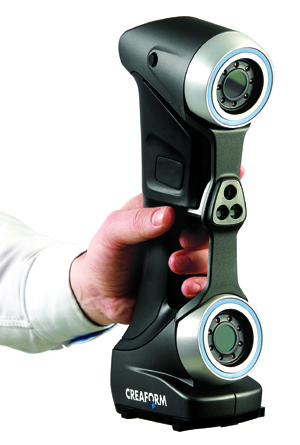
Advantages of the HandySCAN 3D Solution
 Tooling design requires dimension acquisition on parts of various shapes and complexity, which could have to be performed in any kind of environment. The HandySCAN 3D can perform the acquisition directly at the design studio, but also at the suppliers plant, on the customers premises or on the production floor.
Mould designers need to consider shrinkage and spring back in the process in order to end up with a perfect moulded part/CAD reference match. To get there, the acquisition must be accurate and hold all the information needed for the design or modification of the required tooling. The HandySCAN 3D will provide complete and accurate mesh models.
The HandySCAN 3D solution helps save a considerable amount of time compared to traditional measurement methods. Dimensions required for design iterations are quickly measured and made available to the designer
| Request More Information |
Product Brochure |
