Hi-Tech Metrology Field and Contract Inspection Service
With the unique combination of the latest in scanning technology and a highly experienced team, Hi-Tech Metrology's Contract Service bureau covers vast regions around Australasia encompassing a large variety of projects for clients who have an immediate need without the technology to satisfy it.
Just some of the applications that we are involved with include wear analysis, alignments and reverse engineering, with our mix of technologies enabling us to satisfy multiple requirements in each task in the minimum amount of time. Here's a little taste of some of the successful outcomes from recent projects throughout Australia and New Zealand:-
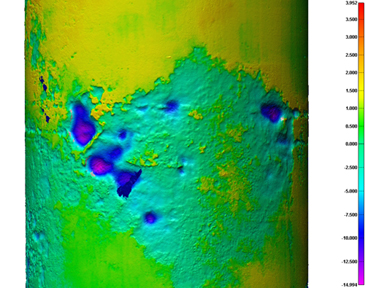
Wear Analysis: Downtime is an expensive proposition in all industry sectors, but none more so than in resources where an unexpected halt to production can roll into millions of dollars in loss of production. Prevention is always better than the cure so for key wear components Hi-Tech Metrology will appear on site and, with minimum interruption to the manufacturing process, perform scans of high-risk surfaces to analyse wear rates.
At a frequency determined by the customer (monthly, quarterly, yearly) every time a scan is performed, a detailed comparison to an original scan highlights any potential for future failure before it happens. No CAD intervention is required and any analysis can be readily performed by the customer remotely with software tools provided by Hi-Tech Metrology.
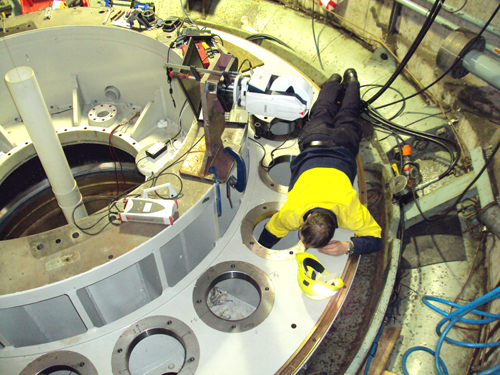
Alignments: Performing alignments on-site can be a painstaking exercise with traditional methods including string-lines and tapes. With the correct alignment of mating parts being of critical importance to life expectancy of components, Hi-Tech Metrology have been active in the field assisting with large-scale alignments, from machine installations to pipe and shaft alignments.
The advantage of Hi-Tech's involvement on site is that alignments can be measured down to microns and, most importantly, measured ‘live' while adjustments are being made. Parts intended to be ultimately aligned together after being manufactured at different locations also fall into this category, with Hi-Tech Metrology travelling to multiple sites to check for any potential issues between the mating pieces prior to embarking on the expensive exercise of site installation.
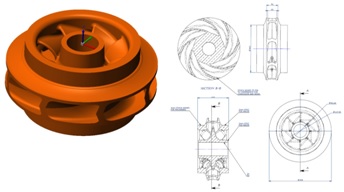
Reverse Engineering: Parts that have survived the test of time often have no CAD history and yet need to be manufactured in a timely manner. Traditionally the process of generating CAD models for existing parts can result in expensive delays not to mention the difficulties in guaranteeing accuracy.
To remove these delays and ensure accuracy, the team at Hi-Tech Metrology are frequently called on to create a digital copy of the part to ensure the CAD design process runs seamlessly and quickly. In some cases, parts that would take up to 4 weeks to CAD model, have been created within 2 days, delivering the highest levels of efficiency for the design process.
To learn more about our contract services contact us now
