TubeInspect HS

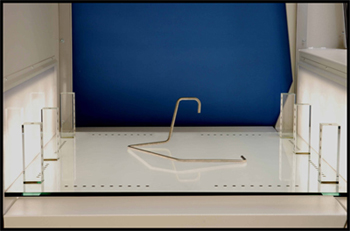
At first glance, the new measuring system seamlessly fits into AICON's TubeInspect product line. Basic elements of the system have been redesigned though. For measuring the tubes, TubeInspect HS uses ten digital cameras with higher resolutions. Moreover a spatial reference point field made from glass, being especially stable with respect to shape and temperature, is located in the measuring cell. Thus the measuring system can resort to reference points in different spatial planes, which leads to a more precise measurement of the tube geometries. Also in terms of the software, basic changes have been implemented. TubeInspect HS makes use of AICON's new software version that contributes to a higher measuring accuracy thanks to an improved algorithm
The added value of the new TubeInspect system becomes apparent by an example from the automotive industry: In order to guarantee a smooth assembly, an injection pipe must fit exactly into the available installation space - and this space becomes more and more confined. Furthermore, the connectors of the tubes have to be very accurate because it is not possible to compensate any deviation from the target geometry during assembly in case of such an inflexible and short pipe. This is the reason why the tolerances for injection pipes are getting smaller.
With TubeInspect HS it is possible to inspect the geometric features of these pipes with the required precision and in a reliable way. This is impossible with traditional measuring methods such as coordinate measuring machines.
TubeInspect HS not only reaches a high precision of up to 50 µm (1 sigma). In comparison to conventional tube measuring technology, it additionally scores with an unprecedented measuring repeatability. The measuring results can be documented in a clear way with the help of graphical reports.
| Request More Information | Product Brochure |
